Tobi User Guide—Image Description Workflow
Step by Step Instructions for Editing Image Descriptions with Tobi
The GUI image description feature of Tobi has been revised to simplify the process of creating multiple types of image descriptions. You can create long description, summary, simplified language, tactile image and simplified image descriptions using the basic view of Editor Window.
The Editor window, where you can create descriptions corresponding to an image, can be used in both basic and advanced modes. The Basic editor window has two main tabs:
- Text descriptions—allows you to supply text for long descriptions, summary and simplified language
- Alternative images—allows you to add a simplified and a tactile image along with their tours.
Step by step instructions for using the basic view of Editor Window:
- Import a DAISY 3 (.opf file) or DTBook (.xml file) in Tobi by clicking File->Open/Import on the menu bar or pressing Ctrl+o.
- Go to Navigation pane using F8.
- Use Ctrl+Tab to go to Descriptions tab. The list of images will be displayed with a preceding visual tick box indicating the presence of an image description corresponding to it. For screen reader users, an accessible label asserts if the image is described or not.
- Select the image for which the description has to be added by using the Up and Down arrow keys or by clicking on the image name.
- To display the image in the Document pane, press Enter or double-click on the image name.
- You can add a description to the selected image by either pressing Ctrl+Shift+D or clicking on the Add/Edit button beneath the list. The Editor window opens in basic view.
- In the Text descriptions tab, first add long description using the Edit button beneath the Long description text box, which will display a dialog box to enter the text for long description. After entering the text, which may contain markup like paragraph, line break etc. , click on the OK button. The text just entered by you will be displayed in the text box beneath the Long descriptions label. In the same way, you can enter text for summary or simplified language descriptions.

- To add alternate images, go to Alternative images tab by pressing Ctrl+Tab. Here, you can supply a simplified image by clicking on the Open… button underneath the Simplified image label. You can also enter an optional tour for the simplified image using the Edit button below the text box displaying tour.
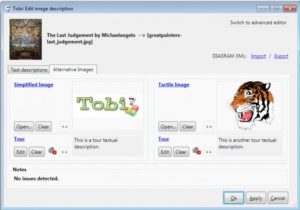
- Next, you can add a tactile image and its tour using the Open… and Edit buttons below the Tactile image label.To add additional information, like audio for descriptions or assigning attributes to descriptions:
- Activate the advanced editor window by clicking on the Switch to advanced editor window button. It has 2 main tabs, namely Metadata and Descriptions.
- Go to the Descriptions tab by using Ctrl+Tab.
- Select a description for which you wish to provide additional inputs from the description summary list.
- Use Tab to navigate to the encapsulated information tabs (Text/Image/Audio/Attribute) on the right of the list of description summaries.
- Go to Audio tab by pressing Ctrl+Tab.
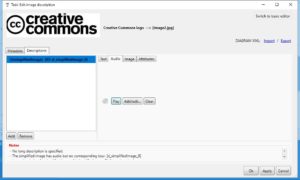
- To place the audio narrating the description, click on the Add/Edit button. Here you may perform live recording or generate audio automatically by clicking on the Generate TTS button or pressing Ctrl+G.
- For assigning attributes corresponding to the description, go to the Attributes tab by pressing Ctrl+Tab, where a list of assigned attributes is displayed. You may add, modify or remove an attribute by using the Add, Edit and Remove buttons. You can assign a meaningful unique ID distinguishing the current description here by assigning a value to the attribute “XML:ID”.
Note: you must click on the Apply or Ok button for the changes to take effect. If you click on the Cancel button, Tobi will close the Editor Window and discard the changes.
Remarks:
- You may also import metadata and contents of descriptions pertaining to the selected image by clicking on the Import DIAGRAM XML… button.
- The next time when you export the project, a DIAGRAM XML file will be created in the subdirectory of the export directory. The name of the subdirectory will indicate the name of the image which is being described.
- The textual descriptions, i.e. long desc, summary and simplified language descriptions, can also be played on the existing DAISY 3 players.
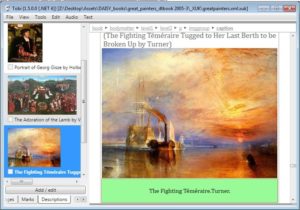
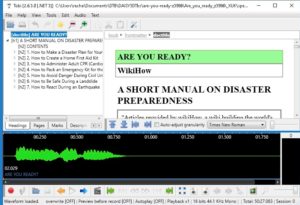
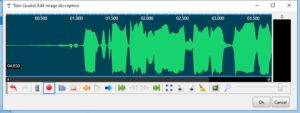
Here are a couple of screenshots showing the navigation user interface that lists all images from the book content: